
I have a couple of websites, and wondered how easy it would be to wrap them into an app.
Turns out, for something like this website, it’s pretty easy.
Here’s a step by step guide for what I did.
This walkthrough is intended for people who have experience with Android, but someone with only general programming experience should get the gist.
In Android Studio create a new project.
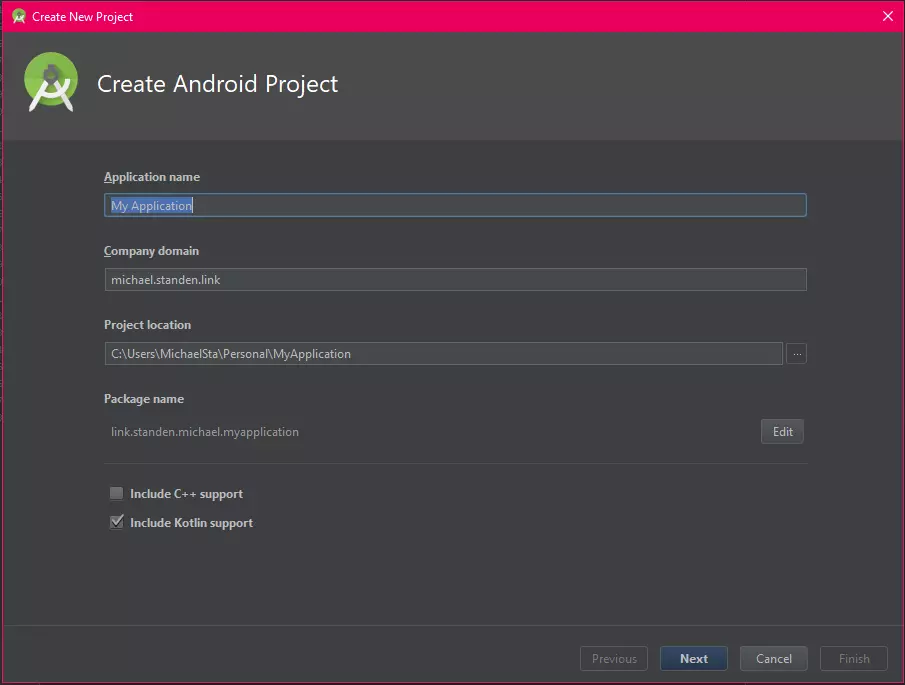
Note that I’m using Kotlin for this project, so Kotlin support must be added.
ContraintLayout but I’m not. Delete that.jre instead of the jdk. Fix that.versionCode and versionName to something suitable. I like cats.My app/build.gradle then looks like this:
apply plugin: 'com.android.application'

apply plugin: 'kotlin-android'
apply plugin: 'kotlin-android-extensions'

android {
    compileSdkVersion 27
    defaultConfig {
        applicationId "link.standen.michael.website"
        minSdkVersion 15
        targetSdkVersion 27
        versionCode 3
        versionName "Abyssinian"
    }
    buildTypes {
        release {
            minifyEnabled false
            proguardFiles getDefaultProguardFile('proguard-android.txt'), 'proguard-rules.pro'
        }
    }
}

dependencies {
    implementation fileTree(dir: 'libs', include: ['*.jar'])
    implementation "org.jetbrains.kotlin:kotlin-stdlib-jdk7:$kotlin_version"
    implementation 'com.android.support:appcompat-v7:27.1.1'
}
Since this is just a wrapper, the app needs access to the internet.
The following line is added to the manifest.xml:
<uses-permission android:name="android.permission.INTERNET" />
The view is just a simple WebView, and then some extra fields for a nice display when the user has no connection.
activity_main.xml looks like this:
<?xml version="1.0" encoding="utf-8"?>
<RelativeLayout
	xmlns:android="http://schemas.android.com/apk/res/android"
	xmlns:tools="http://schemas.android.com/tools"
	android:layout_width="match_parent"
	android:layout_height="match_parent"
	tools:context=".MainActivity">

	<WebView
		android:id="@+id/web_view"
		android:layout_width="match_parent"
		android:layout_height="match_parent" />

	<LinearLayout
		android:id="@+id/no_connection"
		android:layout_width="match_parent"
		android:layout_height="match_parent"
		android:orientation="vertical"
		android:gravity="center_horizontal"
		android:visibility="gone"
		android:paddingTop="@dimen/no_connection_top_padding">

		...
	</LinearLayout>

</RelativeLayout>
There are some references to the strings.xml and dimens.xml that provide some nice words and padding.
You can see the full source code on GitHub.
Configure the WebView to show the website, enabled JavaScript and have scroll bars.
MainActivity.kt:
class MainActivity : AppCompatActivity() {

	companion object {
		const val HOST = "michael.standen.link"
		private const val WEBSITE = "https://$HOST"
	}

	override fun onCreate(savedInstanceState: Bundle?) {
		super.onCreate(savedInstanceState)
		supportRequestWindowFeature(Window.FEATURE_NO_TITLE)
		setContentView(R.layout.activity_main)

		// Configure web view
		web_view.settings.javaScriptEnabled = true
		web_view.isVerticalScrollBarEnabled = true
		web_view.isHorizontalScrollBarEnabled = true

		web_view.webViewClient = StickyWebViewClient(this)

		web_view.loadUrl(WEBSITE)
	}

	...
}
You have noticed there is the inclusion of a StickyWebViewClient.
This is used to ensure the WebView is used for follow on pages, instead of breaking out to the default browser.
StickyWebViewClient.kt:
class StickyWebViewClient(private val mainActivity: MainActivity) : WebViewClient() {

	override fun shouldOverrideUrlLoading(view: WebView?, request: WebResourceRequest?): Boolean {
		if (Build.VERSION.SDK_INT >= Build.VERSION_CODES.LOLLIPOP) {
			return if (request?.url?.host == MainActivity.HOST) {
				false
			} else {
				// Not my site, open browser
				mainActivity.startActivity(Intent(Intent.ACTION_VIEW, request?.url))
				true
			}
		}
		// Fallback
		return super.shouldOverrideUrlLoading(view, request)
	}

	...
}
Again, the full source code is available on GitHub.
This is my favourite part.
Android Studio has a really simple way to generate images at the required sizes based on what you supply.
File > New > Image Asset then follow the prompts.
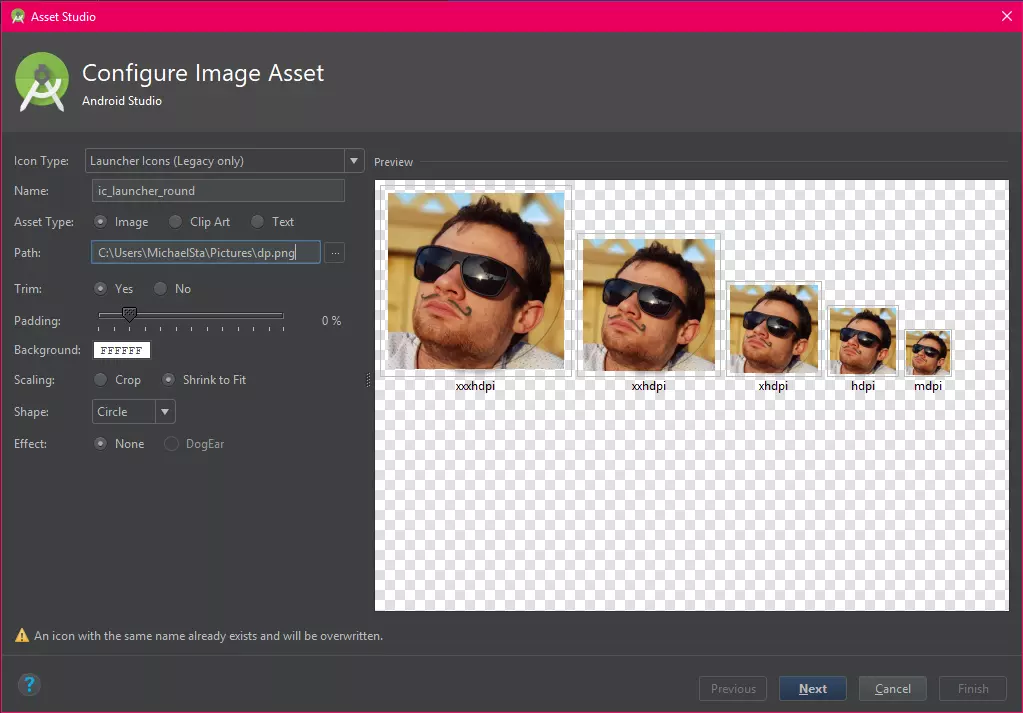
Remove the left over *.xml files in the same location, so they don’t override the new sexy icon.
Or don’t.
I did anyway because it gave me a laugh.
I hope it gives you one too.
If you enjoyed the content please consider leaving a comment, sharing or hiring me.
Cheers,
Michael