
Photogrammetry
My mum is notoriously hard to buy for when it comes to presents. So this year when she asked for a 3D printed model of our family, I knew I had to step up my game.
What is photogrammetry?
Photogrammetry is a technique for creating 3D models from photographs. It’s a great way to create 3D models of complex objects without the need for expensive equipment.
Getting the photos
First up, the camera. I borrowed my wife’s Sony DSLR Camera with a DT 18–55mm F3.5–5.6 SAM II lens. This is a solid camera with a great all-round lens.
To get the best photos I followed the advice of the Meshroom for Beginners guide by selecting a fast shutter speed (1/250) and reduced aperture (f/4.5) and reduced ISO (200). I don’t know anything about cameras so I let the Mrs do all the work setting this up.
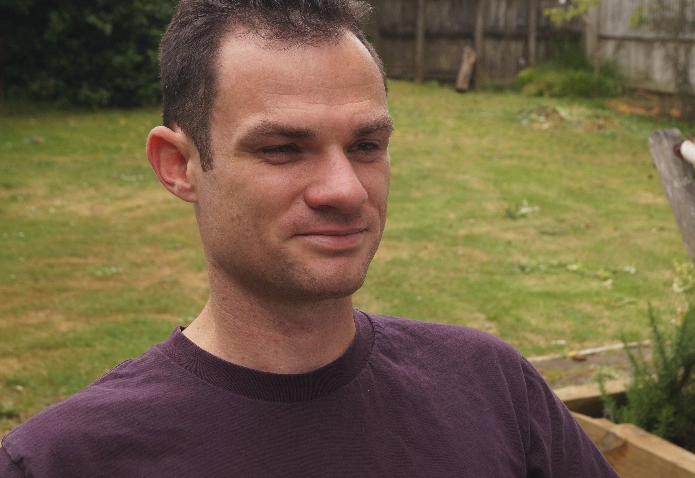
Then I sat as still as possible and had my daughter circle me taking as many photos as possible.
Creating the mesh
The software I used was Meshroom. It’s a free, open-source, cross-platform photogrammetry application.
Simply drag and drop the photos into the Meshroom folder and hit the Start button. Then go to sleep and come back in the morning.
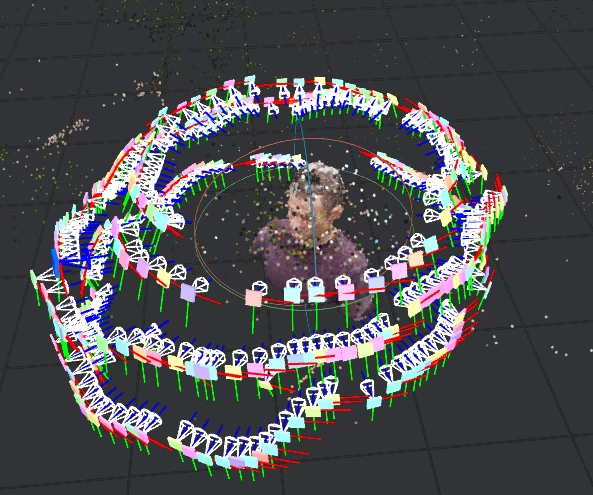
When you wake up you’ll be able to see the locations of all the photos that were taken and you’ll have a 3D model of yourself.
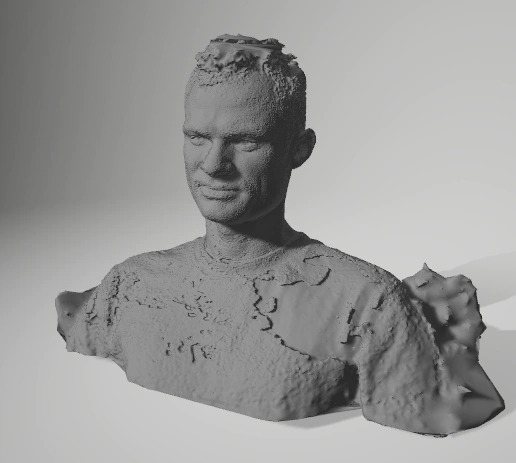
You can see the mesh by double clicking on the MeshFiltering node in the graph editor. Play around with the settings until you’re happy with the result. Keep Only The Largest Mesh is usually a good starting point.
I highly recommend reading through the Meshroom Beginner’s Guide to learn how it all works.
Correcting the mesh
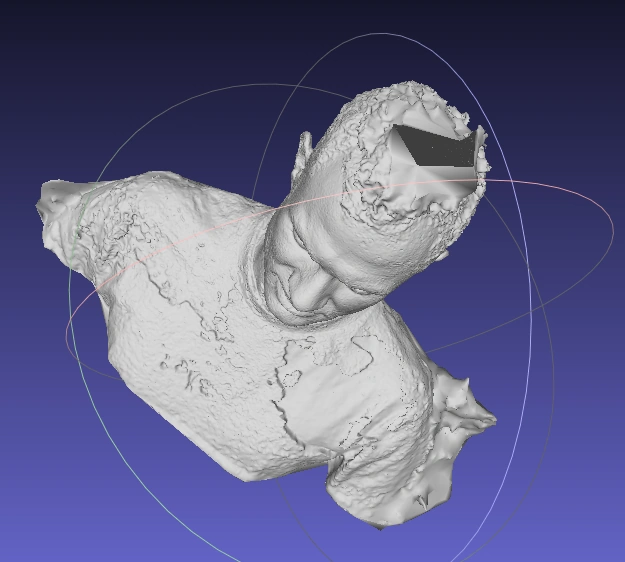
Depending on the quality of the photos you may end up with a mesh that needs correcting. I used MeshLab to delete some of the smaller pieces and fill in some of the larger holes.
Lucky for me the pictures were great quality so I didn’t have to play around much. I am by no means an expert at this so I did as little as possible. I even left a hole in the top of my head… But the slicer fixed it so it was all good.
Slicing the model
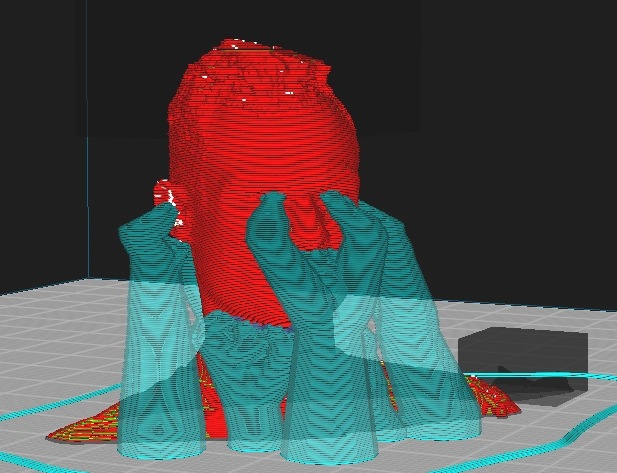
I used Cura to slice the model. I set the extrusion width to 0.4mm and the layer height to 0.2mm. I also enabled supports and set the support angle to 60 degrees and blocked supports at the top of my head.
Support blockers can also be used to remove parts of the model itself.
The print!
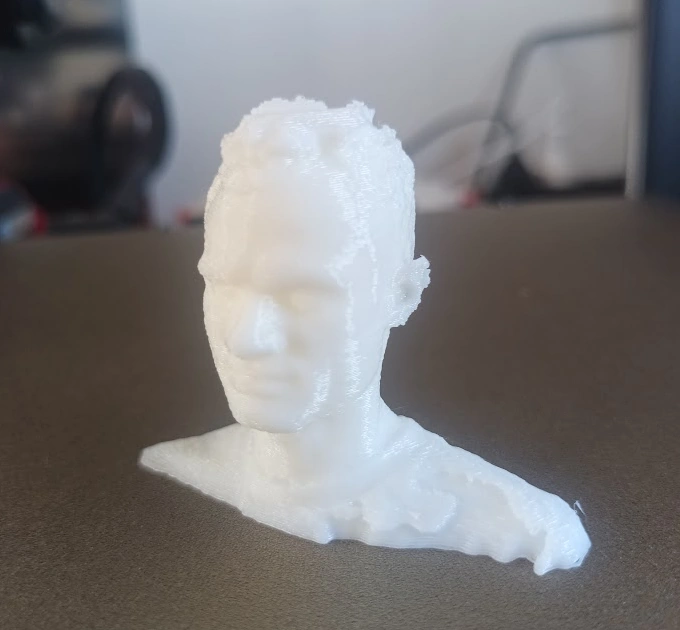
I printed the model on my Creality Ender 3 V3 SE using PLA. You can see the final product below.
Closing
When I started this project I had zero knowledge of photogrammetry. But the process was so simple and the results were so good that I’m definitely spending the time to turn my entire family into Mount Rushmore.
Thanks for reading
If you enjoyed the content please consider leaving a comment, sharing or hiring me.
Cheers,
Michael
Twitter Facebook Google+
comments powered by Disqus